2025 Declutter Checklist for Every Room in Your House
Declutter

Rules for Decluttering
Before we get into the nitty gritty of your declutter checklist, let’s talk about some of the different approaches to decluttering. One — or more — of these may give you some inspiration for your home clean-out. Of course, if none sound appealing, that’s fine, too. The best way to declutter for the new year is to follow a process that works for you.What Is the 20/20 Rule of Decluttering?
The 20/20 rule of decluttering says that if you’re on the fence about keeping an item, ask yourself if you could replace it for $20 or in less than 20 minutes. If the answer is yes, you should probably put it in the discard pile. Wondering what this includes? Think of those “just in case” items you’re holding onto, like that wild shade of drugstore lipstick or that whole-bean coffee, even though you don’t have a grinder.
What Is the 12-12-12 Rule for Decluttering?
The 12-12-12 rule for decluttering involves going through your home and finding 36 items total: 12 to donate, 12 to throw away, and 12 to return to their rightful spot in your home. It’s worthwhile to note, though, that this method may not work as well for a very cluttered space in your home, like a playroom. It could be useful, though, when going through a smaller section of a room, like a closet, cabinet, or pantry.
What Is the 5-Year Rule for Decluttering?
The five-year decluttering rule says that if you haven’t used an item in five years, you probably don’t need to keep it in your home. While this rule may not work for keepsakes, like your grandmother’s wedding china, it is a great rule to use for decluttering your closet. That dress you wore to your cousin’s wedding in 2010? The one with the bubble hem? Yeah, it’s time for that one to go.
What Is the Core 4 Method of Decluttering?
Kayleen Kelly’s Core 4 method of decluttering breaks decluttering down into four steps: clean out, categorize, cut out, and contain. Kelly claims this can work for any room in your home, but this one sounds particularly helpful for something like an office, pantry, bathroom, or closet since those spaces contain more items, and those items naturally fall into clearer categories.Now that you have a better idea of strategies, let’s get into our declutter checklists.

You can start by getting rid of broken items, outdated technology, and old magazines that you no longer need.
Declutter Checklist for the Living Room
1. Get Rid of These Things First.
- Broken items
- Outdated technology
- Unused furniture
- Old toys and games
- Magazines and paperwork you no longer need
2. Declutter Your Media Center.
- Pull everything out of your media center and give it a good cleaning.
- If you’re still hanging on to DVDs and CDs, now is the time to digitize and discard them.
- If there are certain ones you can’t part with, alphabetize them in a binder, like this one from Amazon, or something more stylish — and sneaky — like these hollow books from Target.
- Ensure all your technology is still used and in good working order.
- If you still have miscellaneous objects in your entertainment center after you’re done with your clean-out, organize or store them in baskets or bins.
3. Declutter Your Bookshelves and Cabinets.
- Throw out or donate books. Organize the keepers on a shelf with a small potted plant or decorative item.
- Get rid of toys that are no longer being used or games with missing pieces.
- Discard old magazines and paperwork that are no longer needed. If there are some you want to hang on to for the articles, recipes, etc., clip out the information you want to keep and sort it in an expanding document wallet.
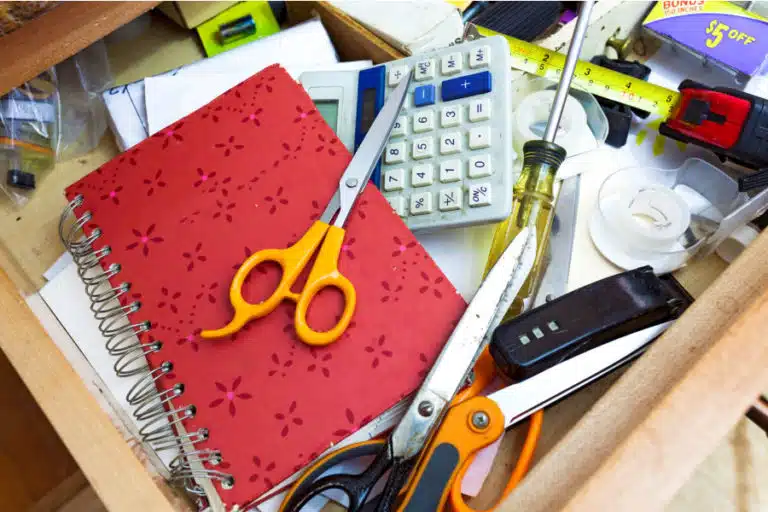
Remove everything from your kitchen drawers — even that junk drawer with the pens, charging cords, and spare change.
Declutter Checklist for the Kitchen
1. Get Rid of These Things First.
- Broken or damaged cookware
- Old plastic food storage containers
- Expired food and spices
- Chipped dishes and cookware
- Unneeded/old cleaning supplies
- Dirty dish rags and sponges
- Scratched cutting boards
2. Declutter Your Cabinets.
- Take out all of your dishware, glassware, and serving pieces and place them on your counter.
- Group the pieces into the items you use every day, the ones you use monthly, the things you use occasionally, and the ones you never use.
- In the pile of things you rarely or never use, ask yourself which ones could be discarded. Chances are there are more than you think.
- Also, check for duplicates of things for which you only need one item.
- Rearrange the items based on how frequently you use them, with daily-use items being at eye level or within easy reach. The less you use the item, the more “inconvenient” its location, like a high shelf or away in a storage area.
- Place pots, pans, and smaller appliances in the cabinets under your countertops.
- Think about proximity to appliances as you replace items, too. For example, are your plates close to your stovetop, and are your mugs near the coffee maker?
3. Declutter Your Pantry.
- Remove every item from your pantry.
- Donate any non-perishable items that you and your family no longer want.
- Throw away perishable foods that are no longer needed.
- Once you’ve removed the things that will no longer stay in your pantry, organize what’s left.
- Separate the foods into categories. This can be pasta, baking, snacks, lunches, canned goods, etc.
- Now that you have your categories, give each a zone or area in your pantry. Like your cabinets, place the items you use more often within reach.
- Group the items together in see-through containers or on a lazy susan.
4. Declutter Your Drawers.
- Remove everything from your kitchen drawers. Yes, even that junk drawer with the pens, charging cords, and spare change.
- Arrange the items into categories, like cookware, utensils, baking accessories, food storage, etc.
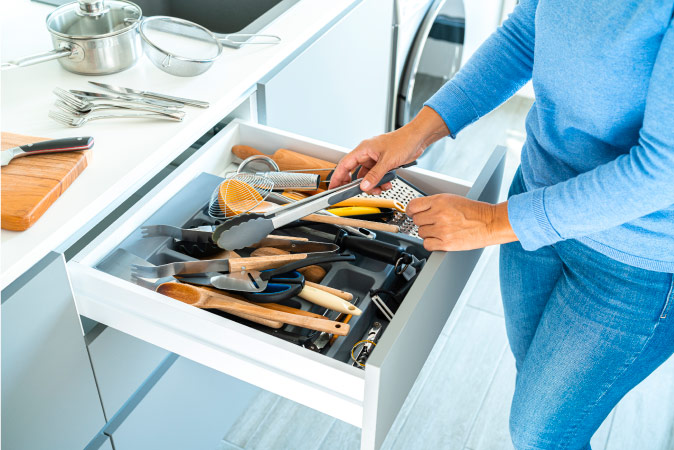
- If possible, put your silverware, cooking utensils, and cookware in the drawers close to your stove. For silverware and utensils, use drawer organizers to keep things from clattering around.
- If you have larger, deeper drawers, use them for categories like baking, food storage, kids' lunchboxes, etc.
- If you can’t let go of that junk drawer, that’s ok! Here’s a quick three-step guide to transforming a junk drawer into something more functional.

If you’re dealing with a small closet or limited space, take your out-of-season clothes and store them away for a few months to free up room.
Declutter Checklist for the Bedroom
1. Get Rid of These Things First.
- Stained or damaged clothing
- Broken hangers
- Torn, damaged, or unused pillows, blankets, and linens
- Outdated decor
- Old alarm clocks
- Paper clutter
- Books and magazines you’ve already read
2. Declutter Your Nightstands.
- Remove everything from the top of your nightstand and its drawers.
- Keep only essential items on the top of your nightstand, like a lamp, the book you’re currently reading, and necessary chargers.
- If you want smaller items in your nightstand drawers, like lip balm, hand lotion, a sleep mask, etc., organize them in small trays or dividers so they’re easy to find and don’t roll around.
3. Declutter Your Closet and Dresser.
- Take all of the clothing out of the closets and drawers and sort by type (shirts, pants, dresses, etc.)
- Give each drawer an “assignment.” Typically, socks and underwear go at the top, followed by T-shirts, pajamas, and athletic clothing in the middle. Bulkier items, like sweaters and hoodies, can go on the bottom.
- In your closet, group pants by type, color, or season. You can have slacks and business clothes at one end and jeans and joggers at the other, or you can go from summer to winter.
- Do the same with your shirts and tops. It helps to group these by seasons, then, within those categories, by color or casualness.
- If you have a longer section of your closet, use that for long coats, jackets, skirts, and dresses.
- If you’re dealing with a small closet or limited space, take your out-of-season clothes and store them away for a few months to free up room.
- For more in-depth ideas on organizing your closet, check out these tips from the PODS Blog.
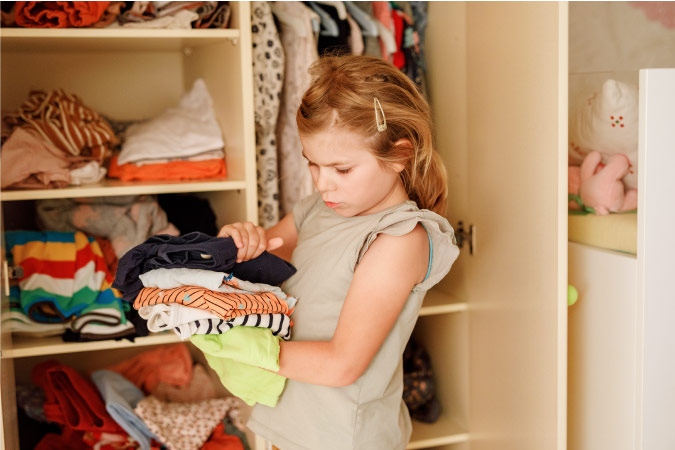
Start by getting rid of the easy stuff — clothing and shoes that no longer fit.
Declutter Checklist for the Kids’ Rooms
1. Get Rid of These Things First.
- Outgrown clothes and shoes
- Broken or damaged toys and games
- Used arts and crafts supplies
- Old books
- Unused furniture
- Outdated decor
2. Declutter Their Clothes
- Take all clothing items out of your kids’ closets and drawers and put them into categories.
- Gather off-season clothes and store them somewhere that’s not easily accessible, like at the top of their closets or in a guest bedroom closet.
- If you’re keeping clothing that’s too big, sort those items by type and season and store them away, too. Be sure to label your boxes or bins so you don’t forget the contents.
- For clothing items that your kids wear often, put them within reach or in bins or baskets for easy access. This is great for casual shirts, shorts, underwear, socks, shoes, and bathing suits (in summer).
- For special items and dressier clothing, hang in a separate area of the closets so your kids know they’re not for everyday wear.
- If your kids have a tough time putting an outfit together, hang the clothing up by color. This way, they can see similar hues and do a better job matching.
- If your kids keep accessories like scarves, backpacks, or belts in their closets, hang these items on hooks to prevent tangling.
3. Declutter Their Toys.
- Bring the toys in all of the kids’ rooms into a central location. This will help you assess everything your kids have rather than going room by room.
- Group your kids’ toys into categories and check for duplicates.
- Encourage your kids to be part of the process so they can help you decide which toys stay, which need to be thrown away, and which can be donated to a child in need.
- Put smaller toys, like blocks, dolls, action figures, and cars, into bins based on category.
- Create a storage system for larger toys, like on the bottom shelf of a bookcase or inside the closet.
- If your kids have art supplies in their room, use an over-the-door pocket shoe organizer to keep smaller items like stickers, markers, crayons, and watercolor sets from cluttering tabletops and desk drawers.
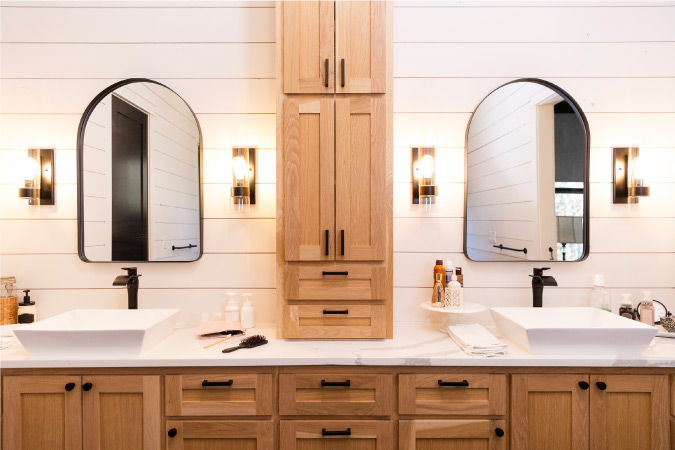
Get rid of old makeup and toiletries that you don’t use anymore, stained or torn washcloths, and expired medications.
Declutter Checklist for the Bathroom
1. Get Rid of These Things First.
- Old makeup and toiletries
- Stained or torn towels and washcloths
- Mildewed shower curtains
- Expired medication, sunscreen, and first aid supplies
- Broken hair dryers, curling irons, and hair straighteners
- Old hairbrushes and combs
- Hair accessories that are broken or no longer needed
2. Declutter Your Vanity.
- Go through all cosmetic and skin care items and throw away anything that falls under the 20/20 rule of decluttering. If you don’t actively use it, could you replace it for $20 or in 20 minutes?
- Use a rotating vanity organizer, like this rotating one from The Container Store, to give some order to the products you keep on your tabletop.
- Tired of your mascara and lipstick tubes rolling around your vanity drawer? Use a desk drawer organizer to keep them in place.
- Makeup brushes should be stored upright to prevent misshapen bristles. Keep them in a decorative cup or cylindrical glass vase so they don’t just maintain their integrity but they also look good doing it.
3. Declutter Your Towel Closet.
- After you’ve removed torn towels and washcloths, fold and sort the rest by category.
- Keep bath towels and beach towels separated.
- You can store the beach towels on the top shelf during the winter, spring, and fall.
- Put hand towels near washcloths.
- If your closet has wire shelving, you may want to store your washcloths and smaller hand towels in bins to prevent falling through the cracks.
4. Declutter Your Medicine Cabinet.
- If your medications have expired or are no longer needed, check these FDA regulations before throwing them in the garbage or flushing them down the toilet.
- Categorize your items into medicine, first aid, skincare, beauty, hair care, etc.
- Put the items you use daily at the front of your cabinet.
- Store items that aren’t needed as frequently in containers or bins.
- For smaller items, like cotton swabs, safety pins, bobby pins, and hair clips, use small, clear apothecary jars.

Consider digitizing your important documents so you don’t have to deal with a paper file storage system.
Declutter Checklist for the Office
1. Get Rid of These Things First.
- Old paperwork
- Read mail
- Broken or unused office supplies
- Outdated decor and electronics
- Damaged furniture
- Knick-knacks and other clutter
2. Declutter Your Desk.
- Take everything out of your desk drawers and toss unwanted or unneeded items.
- Group things into categories, like files, pens, chargers, etc.
- Use desk drawer organizers for pens, paper clips, note cards, rubber bands, and other smaller office supplies.
- Place only the items you use every day, like your laptop, notebook, planner, and pen on your desktop.
- It’s ok to have a picture or small plant on there, too. Just remember that too much clutter clutters the mind.
3. Declutter Your File Storage.
- Consider digitizing your important documents so you don’t have to deal with a paper file storage system.
- Put documents that require immediate action, like bills or applications, on your desk in the top part of a letter organizer.
- Use desk drawer organizers for pens, paper clips, note cards, rubber bands, and other smaller office supplies.
- For the documents that you need to keep hard copies of, like a marriage license or passport, put the files in an organized container according to a system of your choosing.
- Remember, the goal is to be able to easily locate them when the time comes, so label and group clearly.
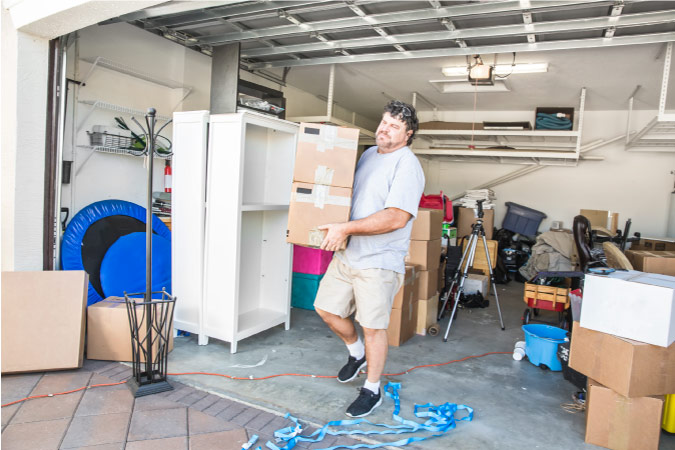
If you still have old, damaged, or unused sporting equipment taking up space in your garage, it’s time to let it go.
Declutter Checklist for the Garage
1. Get Rid of These Things First.
- Old, damaged, or unused sporting equipment
- Stale or expired paint cans and chemicals
- Broken tools or equipment
- Cardboard boxes
- Damaged or outdated seasonal decor
- Paper clutter
- Leftover construction or renovation materials
- Worn-out garden tools
- Broken lawn equipment
- Old or expired cleaning products
- Unused or outdated car parts or accessories
2. Declutter Your Holiday Decorations.
- Take the holiday decorations out and organize them by holiday.
- This may sound unnecessary, but you won’t believe how many things get mixed up in the holiday shuffle. You may just have a light-up jack o’ lantern beside your nativity scene.
- Get rid of decor that’s damaged or outdated. If you haven’t used it in the last year, chances are this year isn’t going to be any different.
- After you’ve discarded items no longer needed, designate bins for each holiday. Be sure to label each one.
- Since these items are stored in the garage, make sure the bins are weatherproof instead of cardboard or plastic to prevent damage.
- If you have outdoor decor, like lights or inflatables, keep them together.
- If you have an artificial Christmas tree that’s still in good condition, store it horizontally in a bag or box.
- Store the bins on a garage shelving unit rather than on the floor.
3. Declutter Your Sporting Equipment.
- Keep only the sporting equipment you regularly use. You played pickleball once and didn’t enjoy it — there’s no reason to hang onto the paddle. Sell it to someone else.
- Group items by sport, placing smaller items, like golf balls, tees, tennis balls, etc., in their own container.
- Consider investing in a sporting goods storage rack for a more organized garage.
4. Declutter Your Tools.
- After you’ve gotten rid of broken tools, check for ones you no longer use or need.
- Prioritize frequently used items by placing them within easy reach while storing rarely used tools higher or in overhead storage.
- Maximize vertical space by installing shelves, pegboards, or slatwall systems for hanging tools, and use labeled bins or boxes to organize smaller items.
- Use magnetic strips for small metal tools and tool-hanging systems like hooks, brackets, or boards for neat wall displays.
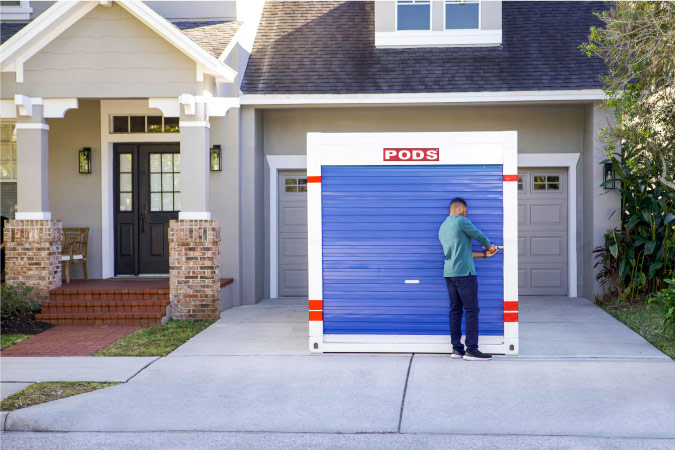
If you need some extra sorting space or are planning to put some things away in storage, have a portable storage container delivered right to your driveway for convenient sorting and loading.
After Decluttering for the New Year, What Do I Do With the Extra Stuff?
Think About Money.
Can you trade any of the clutter for cash? Craigslist, Facebook Marketplace, eBay, and OfferUp are a few places to sell stuff that other people may want. There are also a growing number of web-based buyers of specialty items. Decluttr, for example, will buy used CDs, DVDs, textbooks, and tech items like cell phones and video game consoles. Gazelle will buy phones and tablets, and Vintage Cash Cow is in the market for antiques. And if you have enough energy left after decluttering, you can hold a garage sale to unload what’s left.
Donate, Donate, Donate.
There’s always the Goodwill and Salvation Army for purging clothing and household items, but consider other local nonprofits, as well. Many senior centers, veteran nursing homes, domestic violence shelters, group homes, animal shelters, church or community pantries, and civic groups seek general and specialty donations. Lions International, for example, recycles used eyeglasses, and St. Jude’s Ranch for Children collects greeting cards for crafting projects.
Don’t Forget About Temporary Storage.
If you have some items that are still in your “maybe” pile, or if you’re decluttering for the new year because you’re getting ready for a move, portable storage containers can be set up right outside your house while you go through your declutter checklist. That way, you can get things out of the way while either organizing your keep pile or staging your home.
Keep It Up.
Remember that decluttering for the new year doesn’t have to happen all at once but can be a gradual process. After all, a New Year resolution isn’t meant to be a fleeting thing that’s forgotten by February. It’s an ongoing goal meant to improve life. Be sure to take some time to develop a realistic plan for maintaining this newfound home organization and keeping your things uncluttered.
Looking for more on decluttering, home storage, and organizing tips? Check out the PODS Blog for How To Declutter Your Home in 6 Steps and 5 Smart Tips for Downsizing and Storing.
LB Gabriel is a freelance writer and frequent PODS Blog contributor. When she’s not on a deadline, you can find her on a tennis court or golf course.

Your quote in 60 seconds
Get pricing tailored to your needs!
