Why Is My Water Bill So High? Here Are 5 Possible Reasons
Remodeling and Renovation Tips
During this time of higher grocery costs, astronomical gas prices, and general inflation, having a water bill increase can be especially frustrating. Fortunately, though, many times there are easy solutions to the problem. The trick? Knowing what you’re dealing with instead of guessing. So if you’re asking yourself “Why is my water bill so high all of a sudden?,” here are five potential reasons.
1. You Have a Leak
Leaks are one of the main contributors to a high water bill. It makes sense, too. If you think about the parts of your home that use the most water, your bathroom, kitchen, and outdoor watering system probably come to mind.
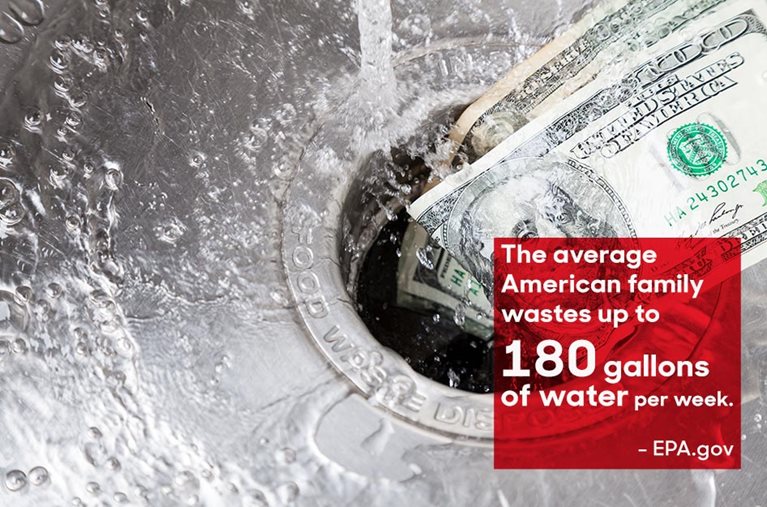
The average American family can waste 180 gallons of water per week from household leaks — the amount of water it takes to wash more than 300 loads of laundry. If that leak (or leaks) goes unaddressed, that’s almost 9,500 gallons of water per year.
What you may not realize, though, is that leaks don’t always appear as obvious drips or puddles. Here are some indicators that you may be dealing with an issue.
Toilets
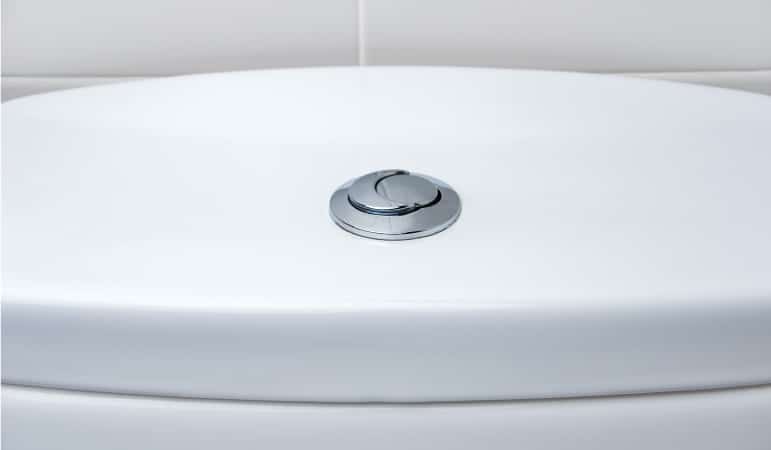
While water pooling on the floor is an indicator of one type of toilet leak, other, more common leaks aren’t as apparent. The issue stems from the toilet running too much, so to check, flush your toilet and time how long it takes for the whooshing sound to stop. If it’s more than 20 or 30 seconds, chances are the toilet is over-running. Another indicator may be a hissing sound coming from the toilet.
You can also perform a dye test. This is when you take some food coloring and put a few drops in the toilet’s tank. Wait around 15 minutes and see if the color has made its way to the bowl. If it has, there’s a leak allowing tank water to flow into the bowl.
The good news? Toilet leaks are usually easy to fix. Go to your local hardware store and ask for a new flapper. Installing a new flapper won’t take long, even for novice DIYers.
| Q: What uses the most water in a home? A: According to the EPA, toilets are the main source of water use in our homes, accounting for almost 30% of total indoor home usage. So if your toilet is overworking itself or has a leak, it can create thousands of gallons of wasted water — and a big ’ol water bill. |
Faucets
We all know the sound — the slow and steady drip, drip, drip. You may be wondering, “Can a dripping faucet increase my water bill? Surely those little drops don’t amount to much.” But actually, the reality may surprise you.
While those drips may seem insignificant, they can actually cause a few gallons of wasted water per day. Just take a look at this drip calculator to get a more exact estimate. It’s not as costly as a toilet leak, but a leaky faucet isn’t something to ignore.
Fortunately, unlike toilets, leaky faucets are easy to spot. If you notice a drippy culprit, try to close the faucet tightly. If the dripping continues, chances are the washer needs to be replaced. For that job, you may want to get a pro to help (faucets can sometimes be unnecessarily tricky).
Pipes
Leaky pipes are major contributors to household water waste. The problem is that these leaks aren’t as noticeable as ones coming from the fixtures inside your home. But a big warning sign? That big water bill. Other signs include:
- Mold growing on walls in the bathroom or kitchen
- Foundation cracks
- A musty smell
- Water marks on your ceiling, floors, or walls
Run a quick home test by shutting off all the water in your home. If you do that but your water meter is still moving, you probably have a pipe leak. Even if your house is outfitted with durable copper pipes, you could have a pinhole leak.
What causes pinhole leaks in copper pipes? Pinhole leaks in copper pipe happen when corrosive material on the inside wears through the metal. The hole starts small (thus the name “pinhole”) but grows larger over time, allowing more and more water to run through.
Of course, the hope is that it will take a quick, simple fix to remedy a pipe leak. However, the reality is that you may need to prepare for a larger-scale renovation. If you have pinhole leaks in your copper pipes that have been leaking and causing water damage for some time, you may need to enlist the help of a plumber and drywall installer to fully repair the issue. For bigger jobs like these, consider using a PODS portable storage container right on your property to securely store things out of the way while the work is done.

2. You’re using more water than you think
In the U.S., we’re fortunate to take safe water access for granted. But even though it may seem like our planet has an endless supply of water, only 1% is actually suitable for human use. But with the average American family using more than 300 gallons of water per day (with 70% of that usage occurring indoors), we’ve got a more precious resource on our hands than perhaps we realize.
To optimize household water use, it helps to be aware of some common water wasting habits:
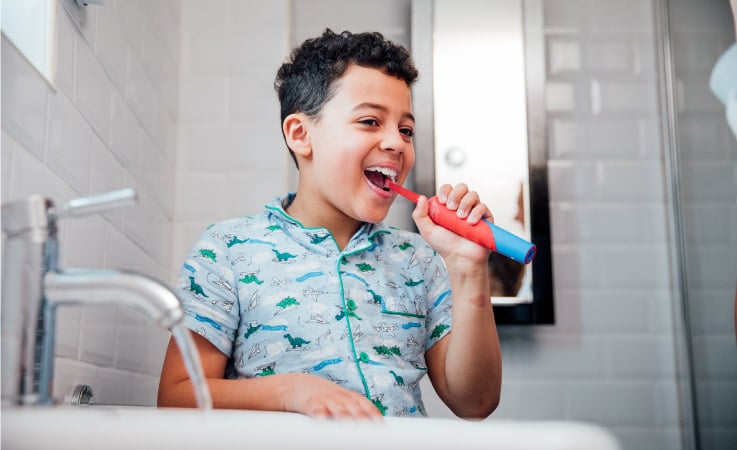
- Leaving the faucet running while you brush your teeth, wash hands, or clean dishes
- Running the tap until it gets hot or cold
- Taking excessively long showers with high-flow showerheads
- Ignoring dripping faucets or leaking pipes
- Running dishwashers or laundry machines when they are not full
- Using too much water for landscaping, especially during rainy seasons
- Flushing the toilet for small items or not using the half-flush option for liquid waste
- Pre-rinsing dishes under running water (most modern dishwashers can handle the entire job)
- Not maintaining your pool or hot tub, which can lead to leaks
- Running outdated washing machines, dishwashers, and toilets rather than selecting new models, which are typically more efficient
- Failing to capture and use rainwater for gardening or outdoor activities
- Not covering your pool in the off season
- Running your laundry machine or dishwasher when it’s not full
| Q: Why is my house using so much water? A: If your water meter is constantly running, chances are you have a leak. To test the theory, shut off all water sources in your home (sinks, dishwashers, laundry machines, etc.). Go to your water meter and note the placement of the measurement arm. Check back in an hour or so and see if the arm has moved. If it has, you likely have a leak. Here’s advice on how to locate any possible culprits. |
3. Your Hot Water Heater Is Having Issues
Any appliance in your home that relies on water can be a potential source of water waste (and a high water bill) if there’s an unaddressed problem. And since your water heater holds a large amount of water, if there’s a leak, disconnected component, or overdue maintenance, the inefficiency can significantly increase your water usage. If your water heater is outdated, get it replaced. It costs more in the short-term, but it’ll help you save on bills in the long run.

4. Your Town Has Increased Its Water Rates
According to Bluefield Research, an advisory firm, average water and sewer bills have increased approximately 50% over the last decade and are expected to keep rising. Reasons for this higher cost include aging infrastructure, more advanced treatments to address water quality, and weather events.
So if you’re noticing a higher bill, tap into your analytical side to get to the root of the issue. Check your personal water usage, but also note if your community has implemented an overall rate increase.
5. You Have a Faulty Water Meter
If your water usage is unchanged, your city hasn’t implemented a rate hike, and you have a high water bill with no visible leaks, the problem may be that you have an issue with your water meter.
This isn’t a common problem, but it’s also not unheard of. To test your water meter, turn off your water. If you’re certain that water isn’t running, but your water meter is still moving, your meter may be inaccurate. To double-check your test, take a milk jug or other large liquid measuring tool and fill a tub with multiple gallons of water (and keep track of how much you put in). Then, check your water meter to see how many gallons it noted. If they’re unequal, call your city utility board and request a replacement.

It’s Time To Be More Energy Efficient
If you’ve addressed any water waste, eliminated the issue, but still find yourself asking “Why is my water bill so high – still?!,” then perhaps it's time to improve the overall energy efficiency of your home by installing new appliances or fixtures.
Some examples include:
- Low-Flow Toilets: Low-flow toilets use significantly less water per flush compared to traditional toilets. Some models even have dual-flush options.
- High-Efficiency Washing Machines: These washing machines use less water and energy compared to older models because they have improved drum designs and water-saving settings.
- Low-Flow Showerheads: Low-flow showerheads reduce water flow while maintaining adequate pressure, resulting in less water usage during showers without the need to cut down the length of the shower.
- Faucet Aerators: Faucet aerators mix air with the water stream, reducing flow while maintaining water pressure, which is particularly useful for bathroom and kitchen faucets.
- Tankless Water Heaters: Tankless water heaters heat water on demand, eliminating the need for a storage tank and reducing standby energy losses associated with traditional water heaters.
- Smart Irrigation Systems: These systems use weather data and soil moisture sensors to optimize outdoor watering, preventing overwatering and reducing water wastage in landscaping.
- Dishwashers With Soil Sensors: Some modern dishwashers are equipped with soil sensors that adjust water usage based on the cleanliness of the dishes, reducing water waste.
- ENERGY STARⓇ Appliances: ENERGY STAR-rated refrigerators, dishwashers, and washing machines, are designed to cut water usage.
- Dual-Flush Toilet Conversion Kits: These kits can be installed on existing toilets to add a dual-flush option, allowing users to choose between a low-water flush for liquid waste and a higher-water flush for solid waste.
Q: Why is my house using so much water?
A: There are several reasons for high water consumption — and correspondingly high water bills. While leaks are the most common reason for water waste, activity or seasonality can contribute to increased usage. Also, look at other changes in your daily routine to spot the issue. Hosting house guests or watering your lawn more often can lead to an uptick in running water.
According to the EPA, the average American family spends more than $1,000 per year in water costs but could save almost $400 per year from using more energy-efficient appliances, which can cut water usage by 20% or more. Give them a try. Your environment — and your wallet — will thank you.
LB Gabriel is a freelance writer who lives with her husband, daughter, and Golden Retriever in Memphis, TN. A frequent PODS Blog contributor, she's a sucker for any tip she can find on downsizing, cutting clutter, or minimalist living. When she's not on a deadline, you can find her on a tennis court or golf course.
Related Articles
Comments
Leave a Comment
Your email address will not be published. Required fields are marked *
